
Photo credit: Sincerely Media
By now, we all know you can record songs in your bedroom that sound like they were recorded in a professional studio. Technology has come a very long way.
Billie Eilish and Finneas are the ones who helped make this obvious to the general public. And there are tons of indie artists who have been and continue to record amazing songs from home.
Now it’s your turn. So here’s how to set up a bedroom home recording studio…
Why You Need a Bedroom Home Recording Studio
I am not at all against fancy, non-home recording studios. Honestly, they often provide a more ideal space, way nicer equipment, and a producer or engineer to help you record. And if you can afford one of those studios, go for it.
But you still need a bedroom home recording studio. Let’s look at some different reasons why…
If you’re a songwriter looking to get your songs cut by artists, you need to be able to record high-quality demos at home. If you don’t have the budget for a professional studio, you can still record pro-level music from your bedroom. If you want to get hired to produce and/or mix music for other artists, you need your own studio that’s easily accessible.
Really, it comes down to being able to easily express your creativity. At the very least, a home studio lets you quickly record your ideas. But you can also record music that sounds just as good as music on Spotify playlists or the radio.
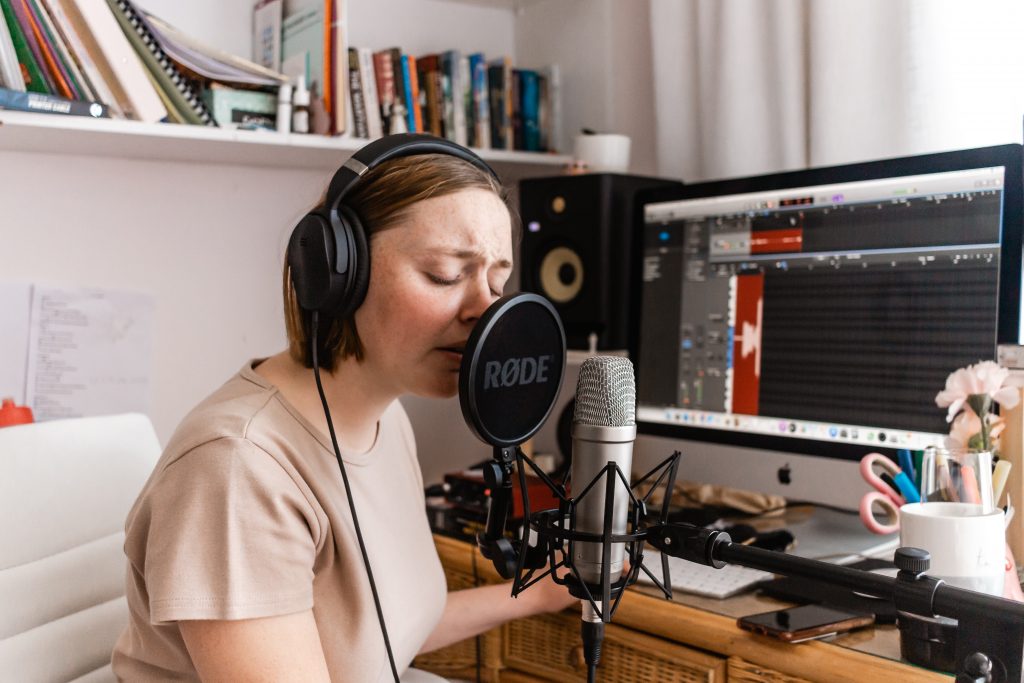
The Essential Recording Equipment and Software
When it comes to recording equipment and software, you have pretty much endless options. But if you’re just starting your journey of recording at home, here are the basic things you need:
-
- Laptop or desktop
- Digital audio workstation (DAW)
- Audio interface
- MIDI controller
- Microphone / XLR cable
- Microphone stand
- Pop filter
- Sizeable desk and comfy chair
To dive further into choosing the right equipment and software, check out this post.
How To Set Up Your Recording Studio
Once you’ve got your equipment, there are three main things to consider with your bedroom home recording studio: the space, acoustic treatment, and arranging your recording station.
Spaces to avoid
You may not have much of a choice when it comes to a recording space. But there are some things to consider when deciding where to set up your recording studio.
I’ve recorded and mixed music in a walk-in closet that ended up on TV. I’ve recorded music in my living room and bedroom that people have added to Spotify playlists. So you can definitely work with the space you have.
That being said, if at all possible, try to avoid these kinds of spaces:
-
- Small, enclosed rooms
- Rooms with lots of outside noise
- Carpeted rooms (ideally, you want a hardwood floor with a rug ‒ carpet absorbs mainly higher frequencies and not so much lower frequencies, which is not good for sound)
- Square rooms (multiple frequencies with the same wavelength will reverberate around the room the same way, leading to phasing problems)
Again, recording at home limits your space options. Which is why arranging your space correctly and using acoustic treatment are so important.
Arranging your recording station
Now you need to choose the positioning of your monitors. The rest of your setup revolves around this.
Here are the main things to focus on:
-
- Keep the monitors off the wall to allow for a more even bass response (check the monitors’ user manual for specifications)
- Move the monitors so their distance to the wall behind them and their distance to the walls on either side are not the same
- For larger rooms, put the monitors along the longest wall
- For smaller rooms, put the monitors on the shorter wall
- Ensure your listening position is not more than halfway across the room
- Create an equilateral triangle between your ears and the monitors with the monitors pointed at your ears
- Don’t lay your monitors on their sides (unless the user manual says to)
Much of the things on this list may not be possible with the space and equipment you have, but do your best. My recording studio doesn’t meet all these requirements and neither do many other home studios.
Just do what you can with what you’ve got.
Acoustic treatment
There are three main types of acoustic treatment items to use: absorbers, diffusers, and bass traps.
With absorbers, sound waves pass through them, changing the intensity of the sound. They help lessen the intensity of echoes and bass frequencies.
Diffusers help reduce the muddiness of a room by altering the angle at which the sound waves reverberate around the room while preserving the natural reverb of the room.
Bass traps absorb lower frequencies, around 250 Hz.
If you don’t have an ideal recording space, it’s best to make sure you don’t have too much room sound. In fact, if you don’t have an ideal room, it may be better to get as dead of a sound as possible ‒ you can always add emulated room reverb, but you can’t remove natural room reverb after it’s in your recording.
Just know, having a dead room sound can work for vocals and acoustic guitar but probably won’t sound good with a piano or live drums (fortunately, there are really good piano and drum plugins).
When placing your acoustic treatment, here’s where to put them (in order of importance):
-
- Absorbers on the walls on either side of your ears
- Bass traps in the corners of the room, starting with the top corners
- Absorbers on the wall behind the monitors
If you can’t afford professionally made acoustic treatment, you can use things like thick blankets, pillows, and a mattress. And honestly, your bedroom probably has several natural absorbers, diffusers, and bass traps, like your bed, dresser, and other furniture.
Ready To Start Recording?
Check out our complete guide on getting started as a bedroom producer, whether it’s for your music or for other artists.